Showing posts with label CONDIMENTS. Show all posts

Saturday, September 12, 2015

GREEN TOMATO PICKLE RELISH

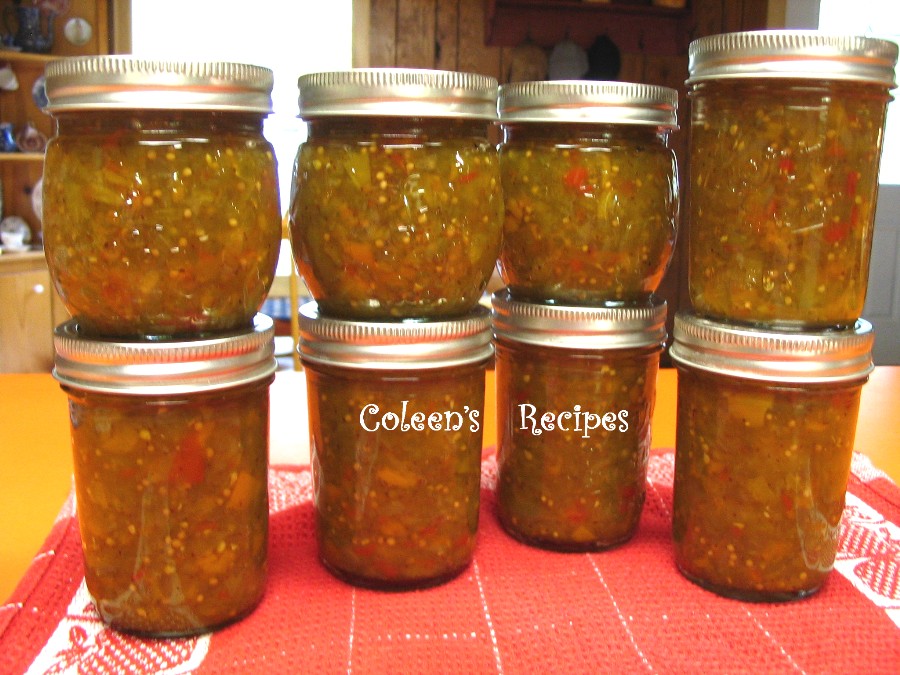
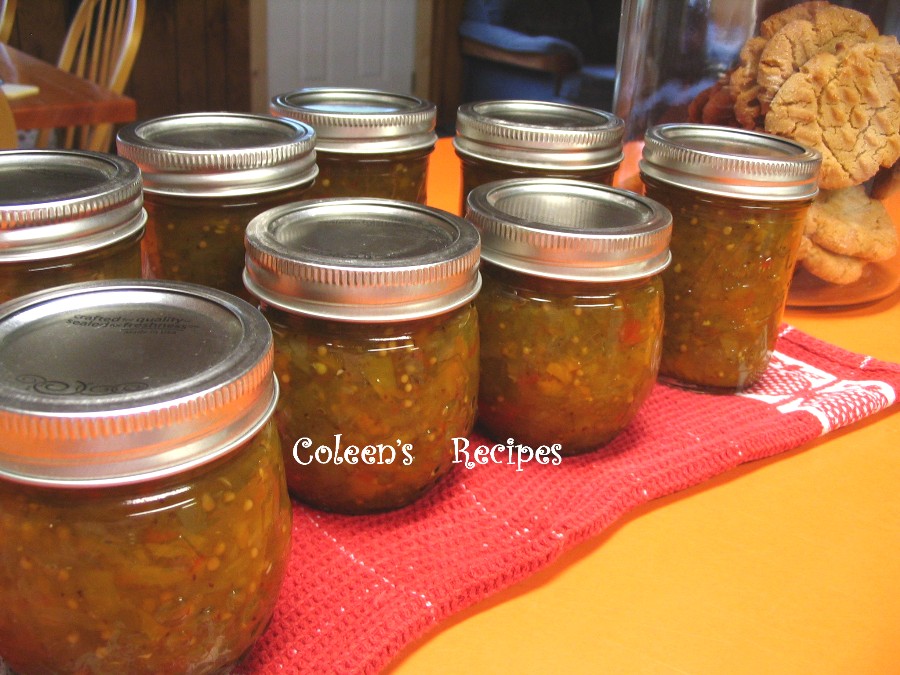
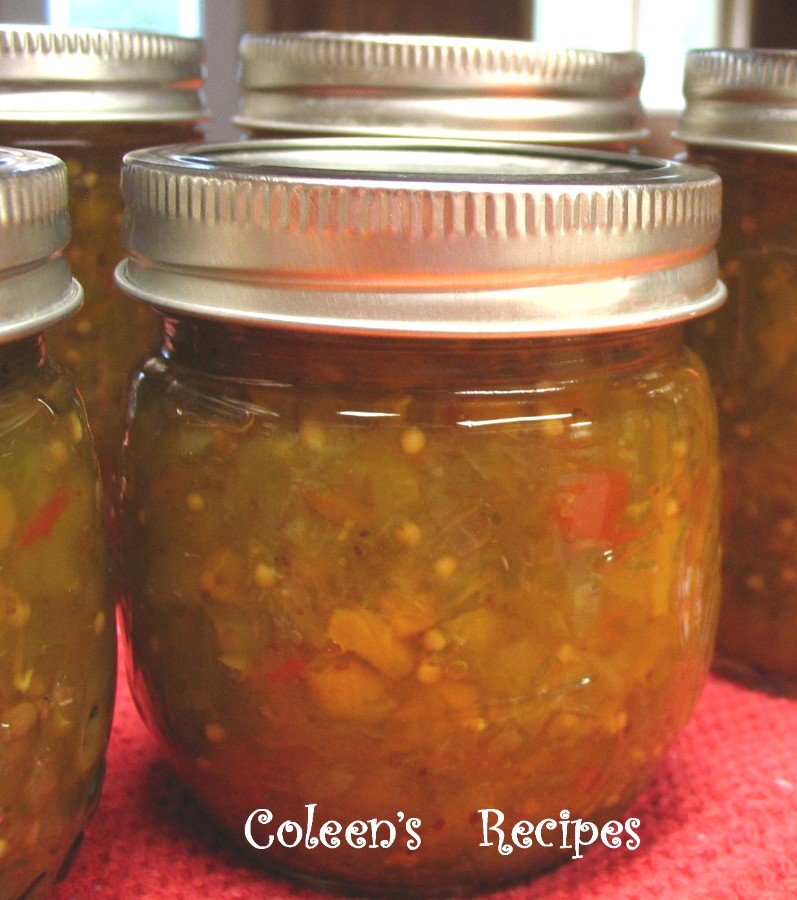
A wonderful gardener recently gave me a huge pan of green tomatoes and I instantly knew I wanted to make this relish. The recipe calls for simple pantry ingredients and it makes 9 cups of yummy relish, a wonderful addition to my pantry, thank you Bonnie!!

 
10 large, or 20 small GREEN tomatoes
4 red or orange bell peppers
1 large sweet onion
1 tablespoon + 2 teaspoons yellow mustard seed
1 tablespoon celery seed
2 cups apple cider vinegar
2 cups granulated sugar
1 tablespoon + 2 teaspoons kosher salt

TO PREPARE VEGETABLES:

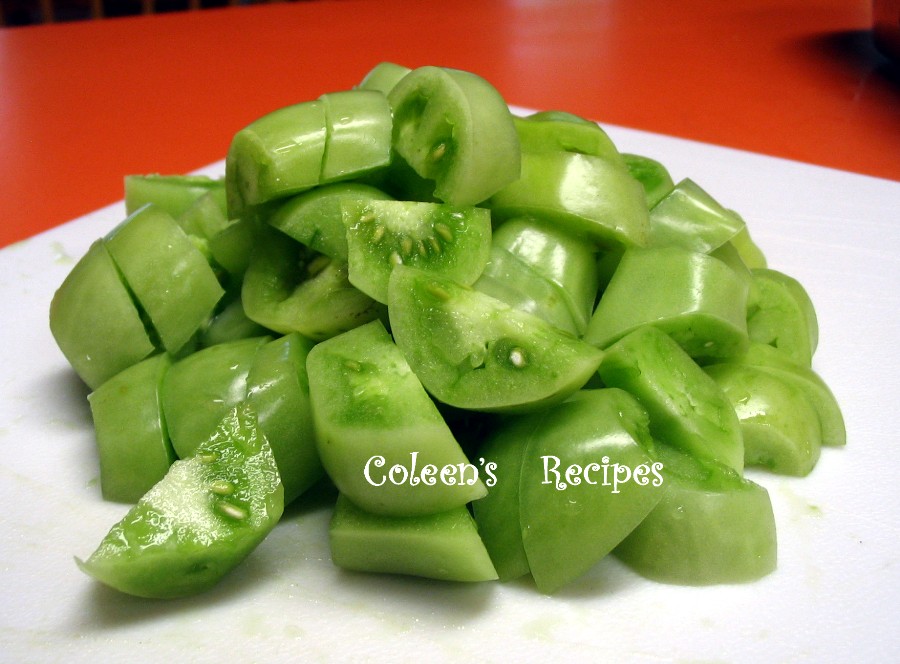
Core the green tomatoes and cut into medium size chunks, about this big:
 
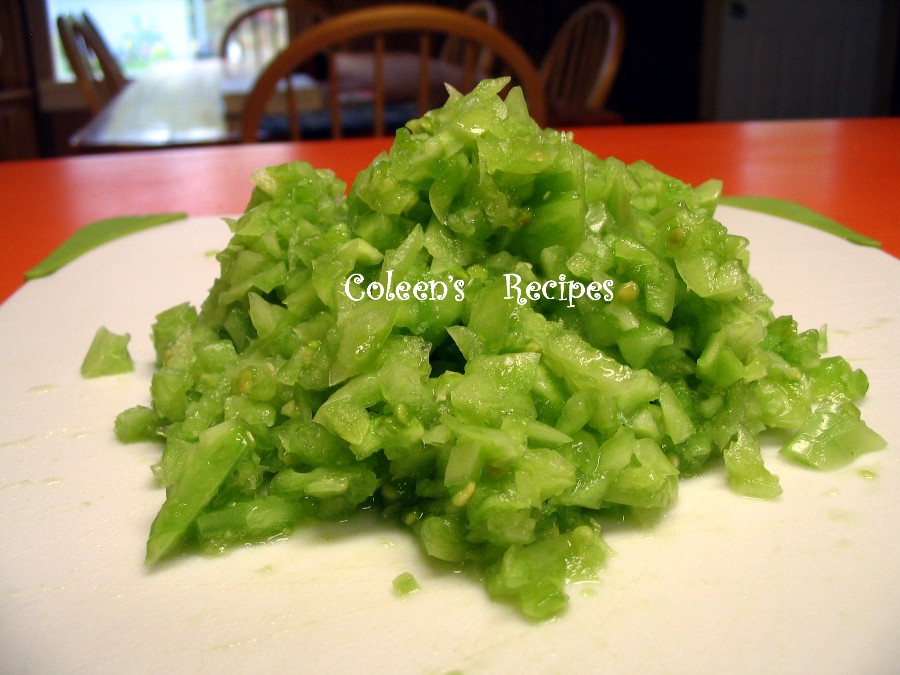
Put them in a food processor, in small batches, and pulse until they are about this size (don't over-pulse):


Do the same with the onion and bell peppers.

Put EVERYTHING into a large, non-reactive stock pot that has a heavy bottom (I use the bottom part of my pressure cooker) and gently toss together.
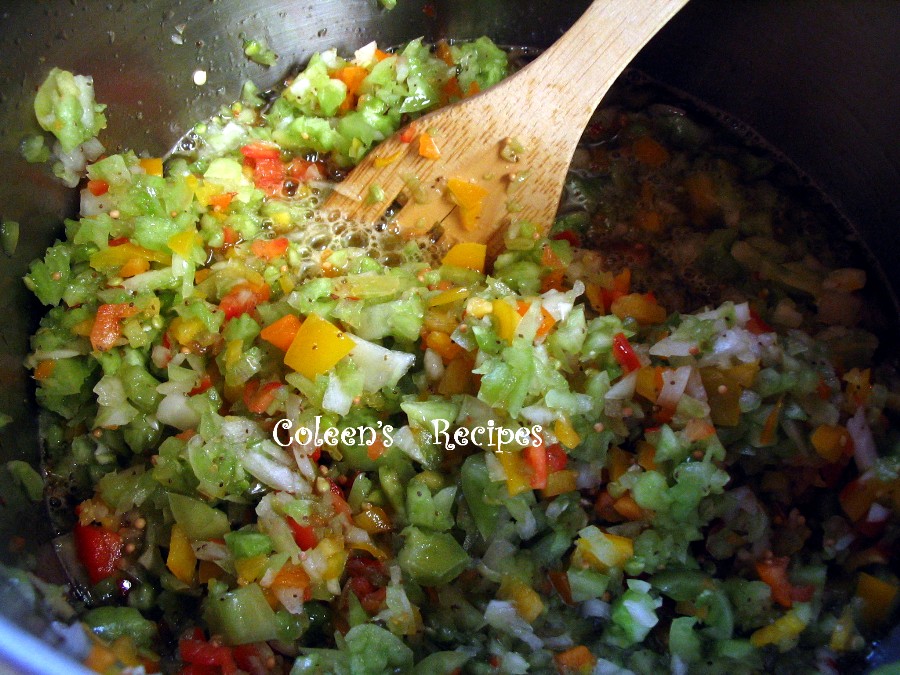

Bring the mixture to a boil and then turn the heat down to a slow simmer (see note below). 

Simmer UNCOVERED for two hours. I know that sounds like a LONG time, and the first time I tried this recipe, I was convinced that the veggies would cook away to nothing, but they don't.......trust me. Just gently stir about every 15 minutes. The vegetables will cook down and thicken into a wonderful relish.

Put relish into sterilized jars and process in a hot water bath (15 minutes for half pints and pints).

TIPS:

Original recipe called for half green bell peppers and half red bell peppers, but we don't care for the taste of green ones, so I modified the recipe and use all red and orange bell peppers.

Don't overload your food processor when you chop the vegetables. If you only load it with 2 or 3 cups at a time, you will get a nice fine chop without it turning to mush.

Recipe says to "slow simmer for 2 hours"......so, what is a slow simmer? My electric burner dial goes from 1 to 10, and a slow simmer on my stove is a 2.  Basically, you want it to simmer at the same heat you would use when you make rice....slow and steady.

Recipe calls for Kosher salt, I have never tried this recipe with table salt.


 ENJOY !!!


Friday, December 26, 2014

MAKE BUTTER IN YOUR STAND MIXER

Do you have a lot of heavy whipping cream leftover from the holidays like I do?  If so, consider turning it into butter with your stand mixer. It only takes about 15 minutes tops, and the mixer does all the work.

This isn't something I would make on a regular basis, but it IS perfect for very special occasions (try mixing in your favorite herbs or spices). It is also a fun project you can do with your kids.

All it takes is some heavy whipping cream + salt, + a stand mixer + 15 minutes .... and "hocus-pocus", you will have butter!!


Start out with a quart of ICE COLD heavy whipping cream


Whip it, on medium high, in your stand mixer, using the wire whisk attachment. It will try and splatter a little, so I usually cover my whole mixer with a dish towel.


Whip until you get nice stiff peaks, like this (should take about 4-5 minutes.


Now this next step is where the "butter" starts to happen. Change from your whisk to your paddle attachment. Let the mixture beat for a few more minutes (at medium high speed,)and it will start to look a little more yellow and it will "loosen up" considerably. This is when you need to make a serious plastic wrap cover for the top of your bowl because it starts to splash.

The mixture will start to separate like this:

 
Don't freak out, this is what its supposed to look like. The buttermilk is starting to separate from the butter.

After it has whipped a little longer, the mixture will completely "break down" and separate, like this: (click on the photo to get a better look).


Although this liquid is called buttermilk, it is very thin and nothing like commercial buttermilk. 

You are now done with the whipping stage (the whole process takes about 12-15 minutes) but there are a couple more steps:

Put the butter into a strainer, and drain off the liquid, It will look like this:


Rinse the "chunks" under VERY COLD running water (the water will not effect the butter as long as it is very cold). Squeeze the pieces together as you rinse the butter. You are basically trying to rinse out any little pockets of milk liquid.

 
Work 1/2 teaspoon table salt into the butter (or you can leave it unsalted). To do this step, I put the butter back in the stand mixer and beat it for a few seconds, so the salt would be evenly distributed.


Finally you have butter !!
 
A quart of heavy cream will make 10 ounces of delicious butter. It will keep in the fridge for about a week, or you can freeze it.
 
 
This sounds like a LOT of steps, but they are really
very simple and straight forward.


ENJOY !!!


Wednesday, September 17, 2014

GRANDMA's BREAD AND BUTTER PICKLES

When I was a little girl I watched my (very German) Aunt Welentina Ezlinger make pickles in her basement. I climbed up on a stool and watched her line up the hot jars and put "seeds" in each one. She then packed the jars tight with cucumbers from her garden and poured a hot vinegar liquid over them. That was almost 60 years ago, but I remember it like it was yesterday. I was so impressed!! I think of her when I make this recipe.

We love these bread and butter pickles!! They are fresh and bright tasting and are worlds better than commercial pickles!!


GRANDMA's BREAD AND BUTTER PICKLES        6 PINTS
 
4 cups water
1/4  cup pickling salt (not regular salt)
10 large pickling cucumbers
ice cubes (I use 2 trays of ice cubes)
3 cups sugar
2 cups water
2 cups apple cider vinegar
2 teaspoons ground turmeric
2 teaspoons mustard seed
1/2 teaspoon celery seed
 
Wash the pickling cucumbers and slice them into 1/8" slices (I cut mine just a tad thicker than 1/8").
 
 
In a LARGE bowl, mix 4 cups water and 1/4 cup pickling salt until well dissolved. Add cucumbers and ice cubes and gently swirl, making sure the slices are all submerged.  Let cucumber slices soak for two hours.
 
After 2 hours, drain the cucumbers (throw away the liquid) and rinse completely with fresh water (I rinse mine 2 or 3 times).
 
In a large/deep pan, mix 3 cups sugar, 2 cups water, 2 cups apple cider vinegar, 2 teaspoons ground turmeric, 2 teaspoons mustard seed and 1/2 teaspoon celery seed. Bring this mixture to a boil.
 
Reduce heat to LOW and put the cucumber slices in. Stir gently and let the cucumber sit in the hot liquid until they are all hot (but not cooked). Don't let the cucumbers boil.
 
Remove the slices from the hot liquid (with tongs) and pack directly into sterilized PINT size mason jars (pack as many as you can get into the jars...pack tightly).
 
When the jars are all packed with cucumber slices, bring the pot of vinegar liquid back to a boil. Remove from the heat and pour into the jars of cucumber slices, to within 1/4" of the top. Run a CLEAN knife around the sides of the jars to remove any air bubbles.
 
Wipe off the rims of the jars with a clean moist towel and screw on the two piece lids.
 
If you are going to use these pickles within 2-3 months, you can just keep them in the fridge at this stage.  If you want to keep them for a lot longer or if you want to store them in the pantry, you'll have to process the PINTS immediately in a hot water bath for 10 minutes.
 
Whether you keep them in the fridge, or put them through a hot water bath, you will have to let the cucumbers "pickle" for 2 or 3 weeks before you eat them, gently "shaking" the jars once a day.


ENJOY !!


Thursday, July 3, 2014

SWEET BABY RAYS BARBECUE SAUCE CLONE

We love thick and sweet barbecue sauce, and our favorite (for years) has been Sweet Baby Ray's brand.  Recently, I did an panic-internet search for something similar to SBR barbecue sauce because I had one of those "I forgot my grocery list on the kitchen counter again" days at the market and dinner was planned around grilling.

Well, I found this recipe on a ton of web sites, all crediting www.halfbakedharvest.com, so I thought I would give it a try and we were thrilled with the results.  I hope you like it too.


Bacon wrapped Shrimp coated with
BBQ Sauce and Baked
 
 
1  1/4 cups regular ketchup
1  cup dark brown sugar (gives much better flavor than light brown)
1/4  cup molasses
1/4  cup pineapple juice
2  teaspoons hickory liquid smoke
2  1/2 teaspoons ground dry mustard
2 teaspoons paprika
1/2  teaspoon garlic powder (not salt)
pinch of cayenne pepper
1  1/2 teaspoons kosher salt (not fine table salt)
1 teaspoon black pepper

Put everything into a saucepan and whisk it together. Bring to a boil, then reduce heat to slow simmer and simmer 5 to 15 minutes, depending on how thick you want it to be.

You can use this immediately or store in fridge for a week or so or portion it out and freeze it for future use. 

NOTE: If you don't have kosher salt, you can use regular table salt, just use LESS, since kosher salt and table salt measure very differently.


 Happy Grilling!!

Monday, August 19, 2013

KETCHUP

In your busy, hectic and over-accounted-for day; making homemade ketchup is probably not a big priority ...........I get that. But if you find yourself with a little extra time, this ketchup is WELL WORTH the minimal effort it takes to whip it up. It is not only inexpensive to make (uses every day pantry staples), but it is sweetened with honey, so it is REALLY-REALLY tasty!!


6 ounce can of tomato paste
1/4  cup honey
1/2  cup white vinegar
1/4  cup water
3/4  teaspoon salt
1/4  teaspoon onion powder
1/8  teaspoon garlic powder (not garlic salt)

Whisk everything together until smooth and then bring to a boil. Turn the heat down and simmer slowly for 20 minutes (whisking every five minutes or so).

Cool and store covered in refrigerator. This recipe makes just over a cup of ketchup, but you could easily double or triple the recipe with no other adjustments.

NOTE: In my humble opinion, this ketchup is just perfect, but if you like your ketchup with a little "heat" to it, just add some cayenne before cooking.

Thursday, May 2, 2013

EASY DRY RUB FOR GRILLING

It IS spring, right? Here in Alaska we aren't so sure, since today (May 2nd) it is snowing!! I have to stay positive and plan for future barbeque's though, so here is a QUICK and SUPER EASY dry rub to use the next time you grill outdoors.  It may look a little on the sweet side, but the final product is NOT overly sweet, it is perfect.


3/4 cup white sugar
3/4 cup brown sugar
1/4 cup salt
1 teaspoon onion powder (not onion salt)
1 tablespoon coarse ground pepper
pinch of cayenne pepper (or to taste)
2 tablespoons paprika

Mix well and keep in jar with a tight lid. To use, brush your pork or chicken lightly with vegetable oil and then rub this mixture onto the surface of the meat about 20 minutes before grilling. It couldn't be easier!!

Friday, March 29, 2013

PINEAPPLE SAUCE FOR HAM

We love cranberry sauce with poultry, so I wanted to find a similar (but sweeter)recipe to serve with our Easter ham. Traditionally, I make mashed potatoes and gravy, but this year I am opting for potatoes au gratin, so I wanted a little something extra to serve with the ham (this is NOT a ham glaze, it is a condiment).

This recipe definitely was the BEST sauce I tried and it is so quick and easy (made with pantry staples) that I am certain I will be making it throughout the year. It is sweet but not overly sweet and has the consistency of a soft jam.

1/4 cup of water
1 1/2 cups brown sugar
1 1/2 tablespoons ketchup
1 1/2 tablespoons soy sauce
1 1/2 teaspoons DRY mustard powder
8 ounce can crushed pineapple with juice

Mix well and bring to a boil; turn heat down to a simmer and cook gently for 20 minutes (start timer AFTER it comes to a simmer). This sauce will thicken a little more as it cools.

If you don't have 20 minutes for this to cook, just simmer gently for 10 minutes then thicken with a little cornstarch and water slurry. You will get the same consistency but I think it tastes better if you do the 20 minute simmer.

Serve at room temperature (or chilled), with baked ham.